The Boys

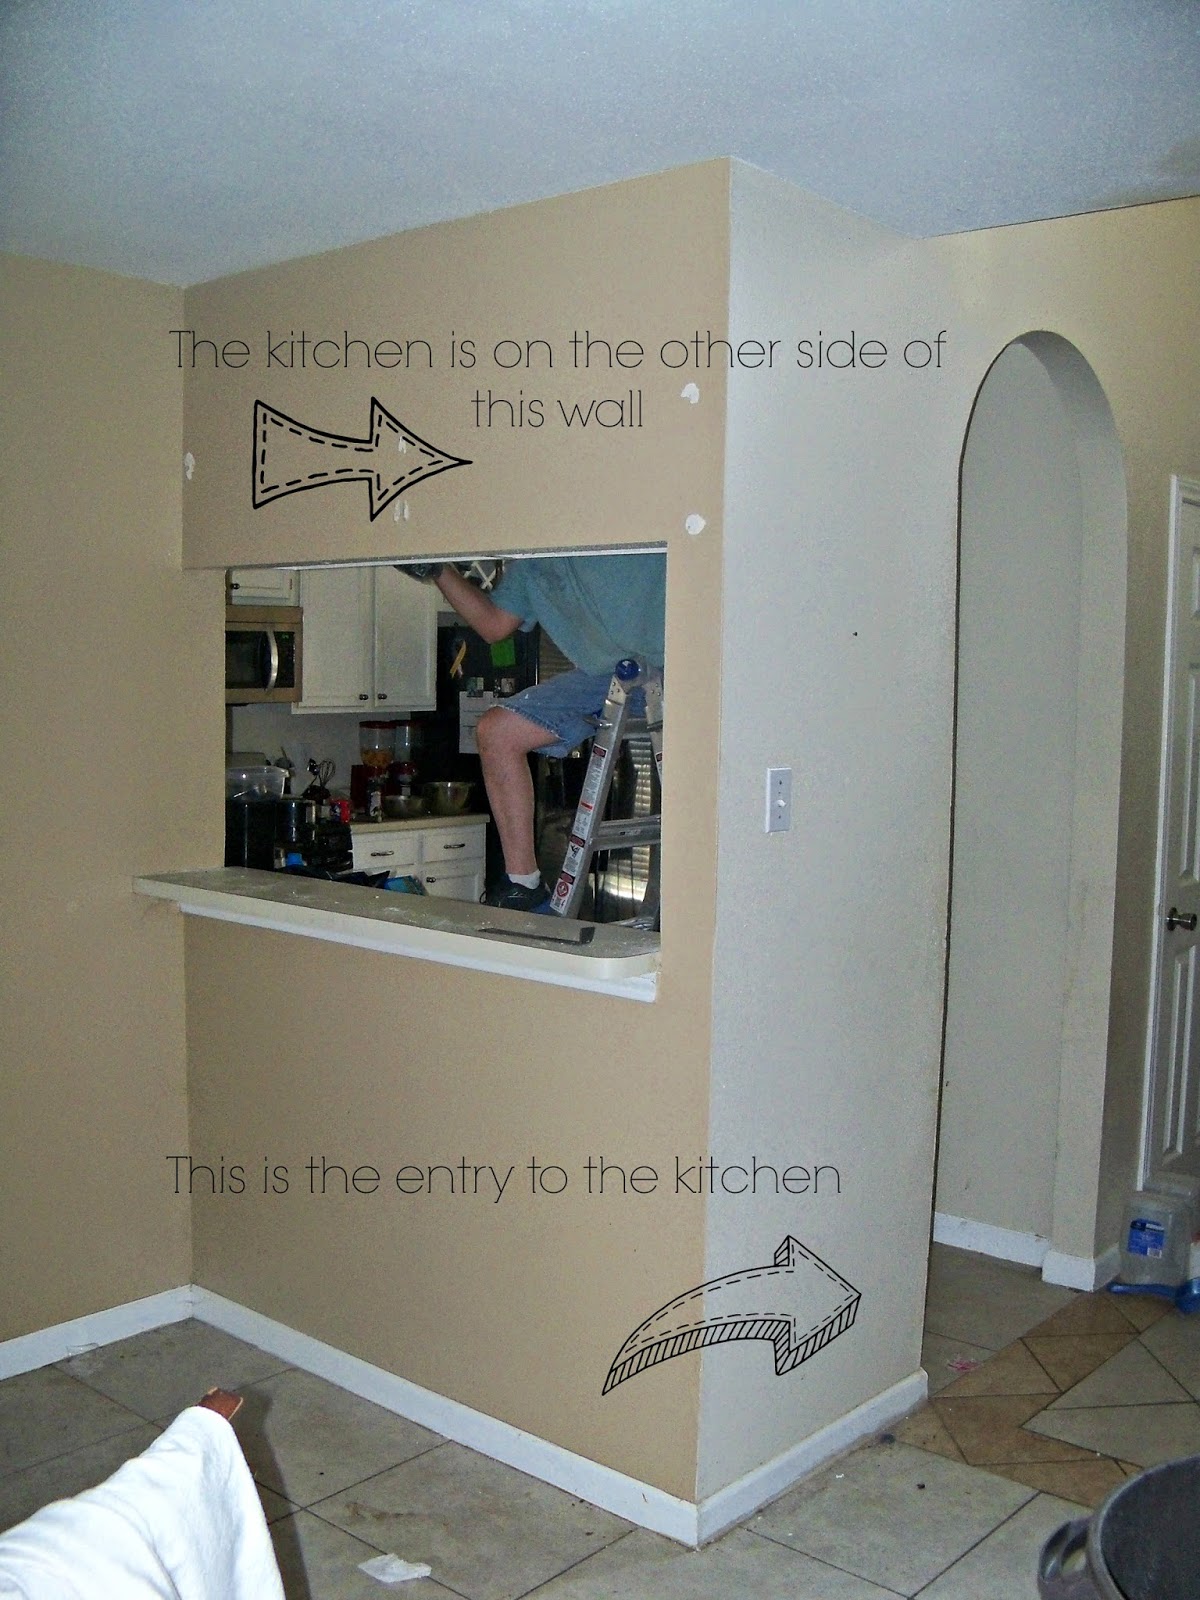
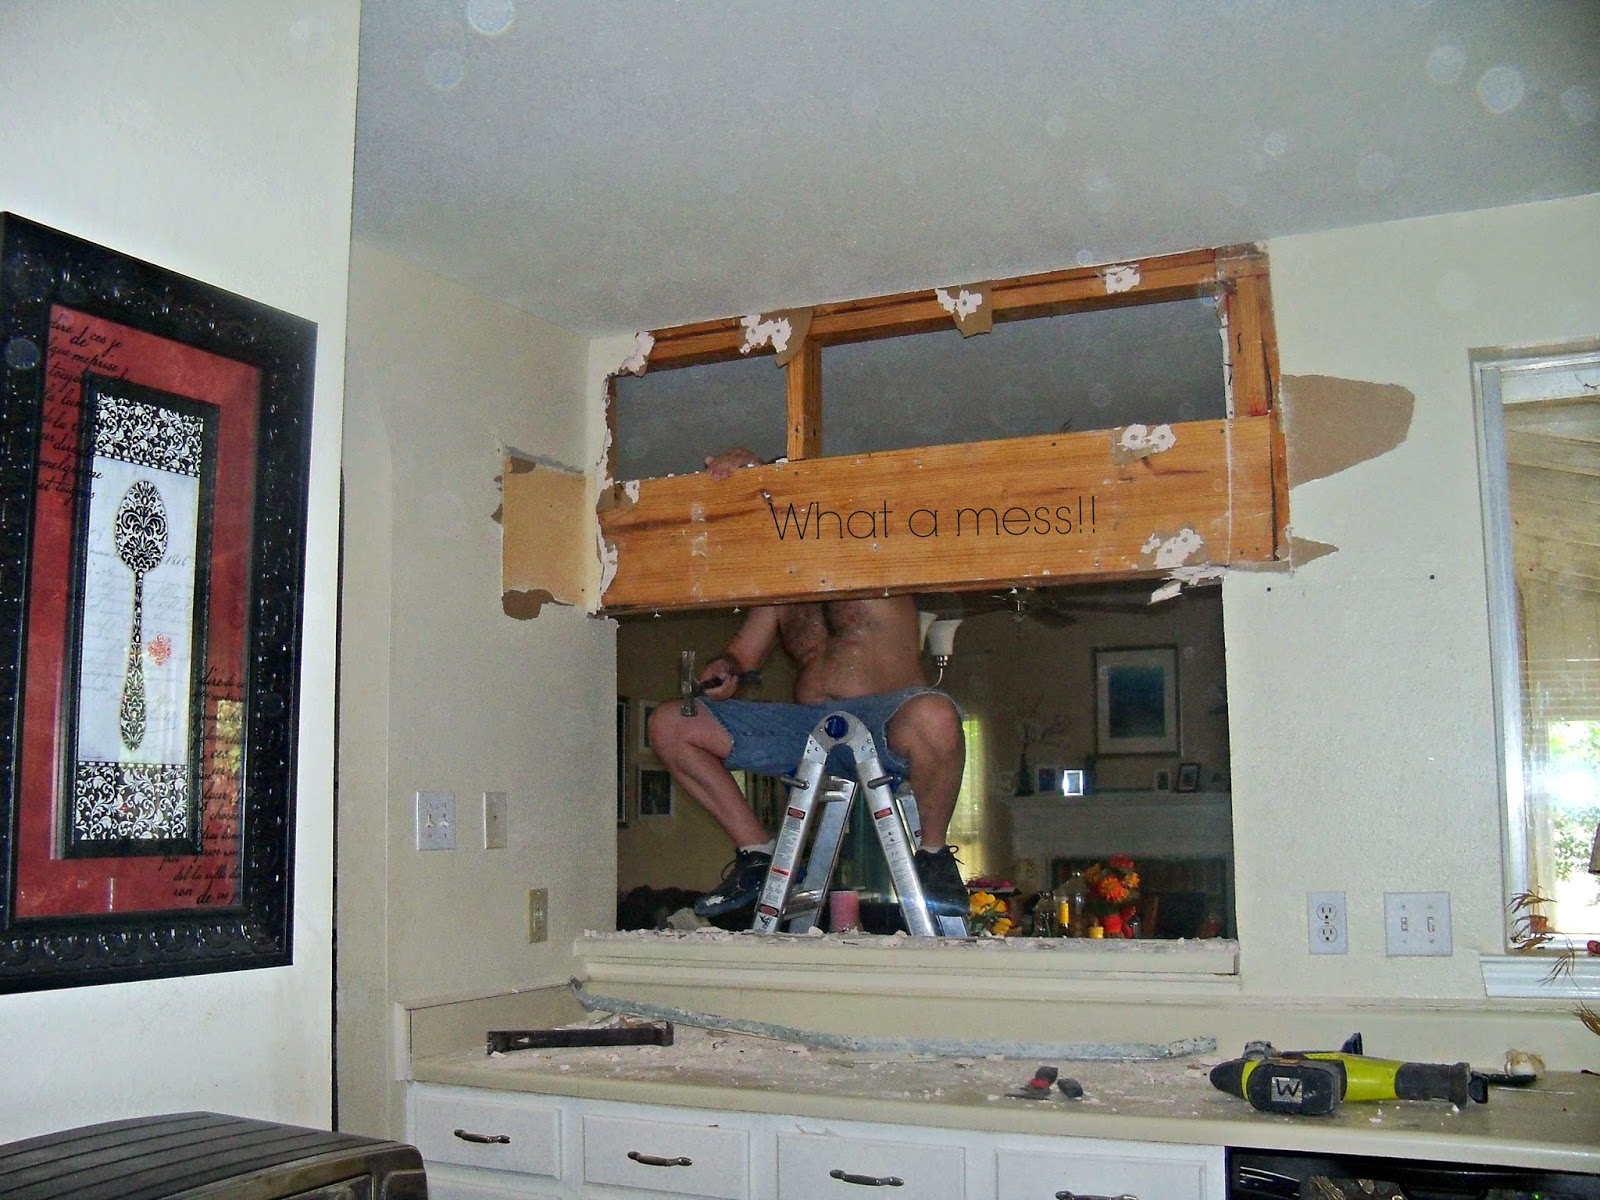
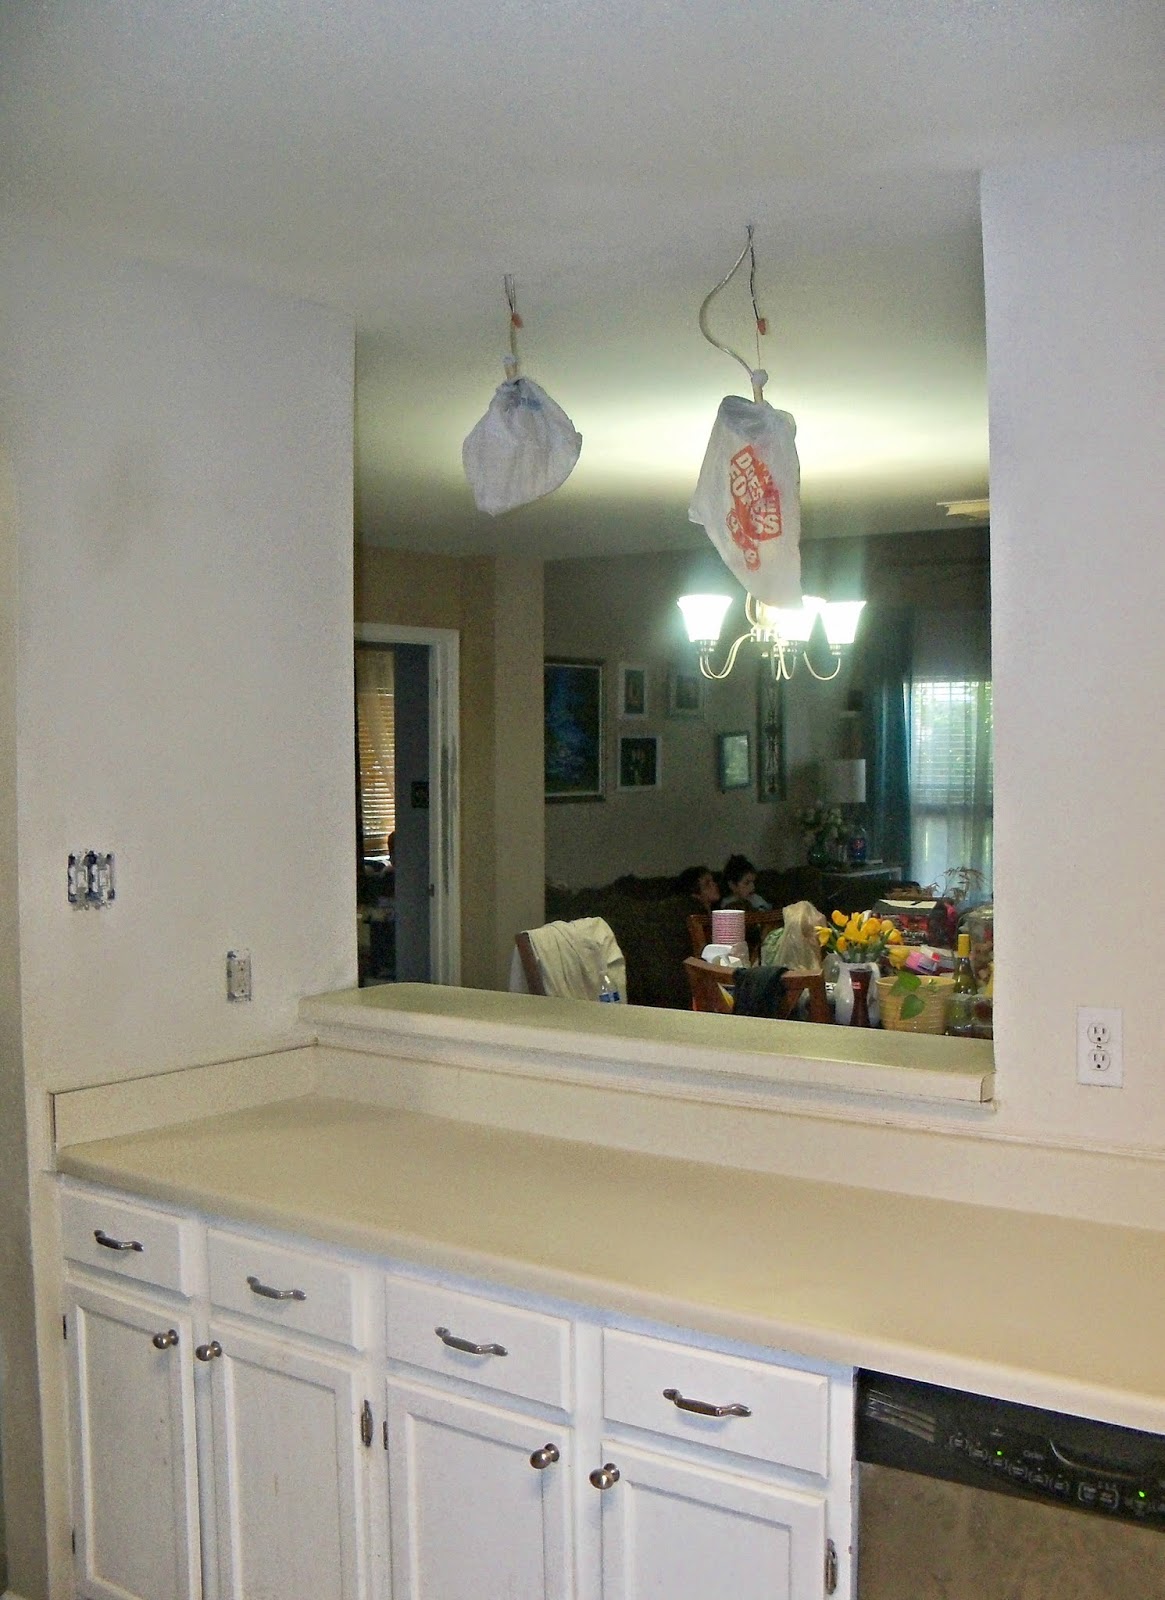
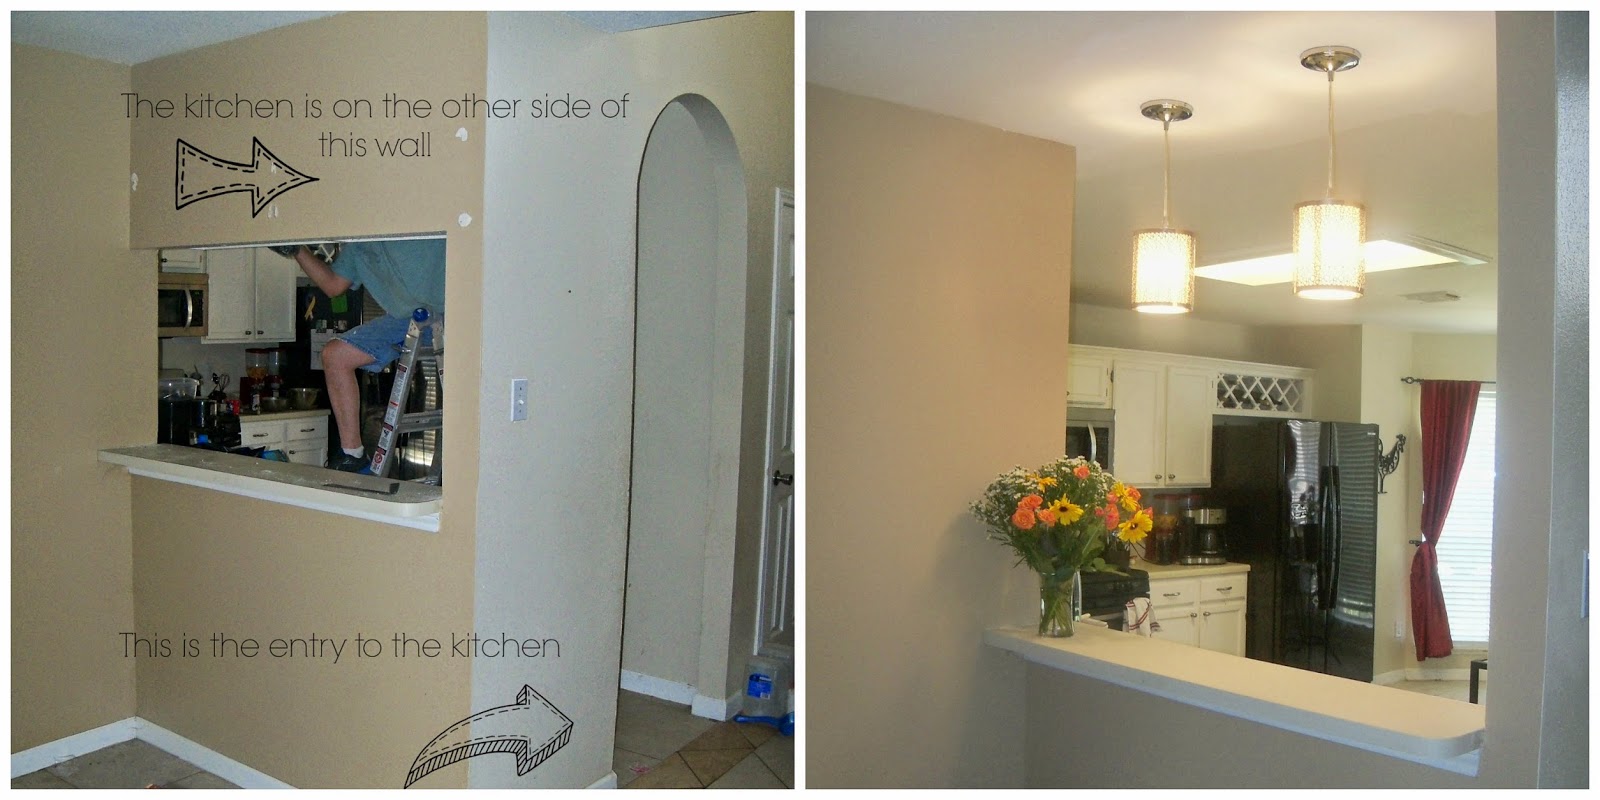
Since I can't start phase 2 of my kitchen renovation until Labor Day weekend (and it will probably take an extra Sunday or two to get it done) I decided to focus on the bedroom my two older boys share. You may recall that it used to have a large cut out over looking the entryway downstairs.The wall has long been finished, textured and painted on both sides, but I never quite got around to decorating. Once they had their privacy and the room had their creature comforts, they were content.

I was not.  

But then we had the bathroom renovation upstairs. The holidays rolled around. The Teen's room was looking bad.  And so my boys room went on the back burner.  Until now!

Here is the the look MJR finally decided he liked best:

While there are two boys sharing a room, the younger of the two will be happy as long as the final choice allows him to keep his beloved Moose. My older son, MJR, is MUCH pickier!!! I started by discussing theme's with him. Nothing I suggested appealed to him -surfer, skater, nature, cars, music....nothing! He doesn't look too many patterns. He's picky on the color. He doesn't want anything that would appear juvenile (which encompassed a WIDE range of things I never would have thought of, including sports - go figure). Basically a "theme" was completely out. So while surfing Houzz I came across the above photo, and while there is some plaid in it (plaid was out!) I know that he really likes the color orange and it would work for my other son as well. So when I show him this, he agreed - minus the headboard, the rug, and the plaid sheets. Because what he really liked was that stupid orange wall. 

Usually once I have an inspiration photo, I'm good to go. I started with bedding. My boys have twin beds that The Builder made them. I'm not changing beds, so those have to stay. I found a great orange plaid bedding set that I thought would look fabulous and had the write colors. To which MJR promptly but the kibosh on - he loves orange. He does not love plaid. More specifically, he doesn't just want the orange wall, he wants the room in THAT photo. Of course.

I did start by looking at quilts in a dark color to re-create that look. But the reality is, I'm working on a space for two, not one. I'm concerned two dark quilts in a space that is no that big to begin with will make it look smaller. So after two days of showing him multiple options, we decided to tweak the color palette a bit and it started with this comforter:
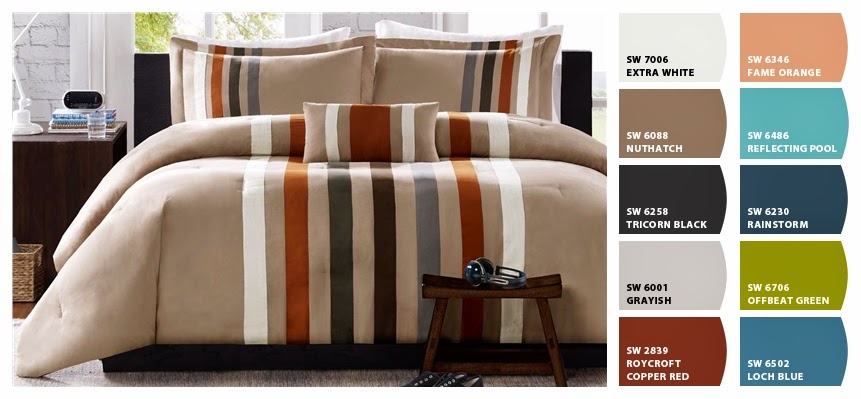
Pay no attention to the second set of colors shown. Apparently when you save it, it gives you both. I'm not sure the Roycott Copper Red is the right color for the accent wall. While we do want a rust color, that's too close to red. There are three shades that I'm debating on Behr's web site. Summer Heat, New Penny, and Glowing Fire. Once the comforter and the curtains arrive, I'll have a better idea which one is the right one for this room. Here's a peak at the design board for this room:
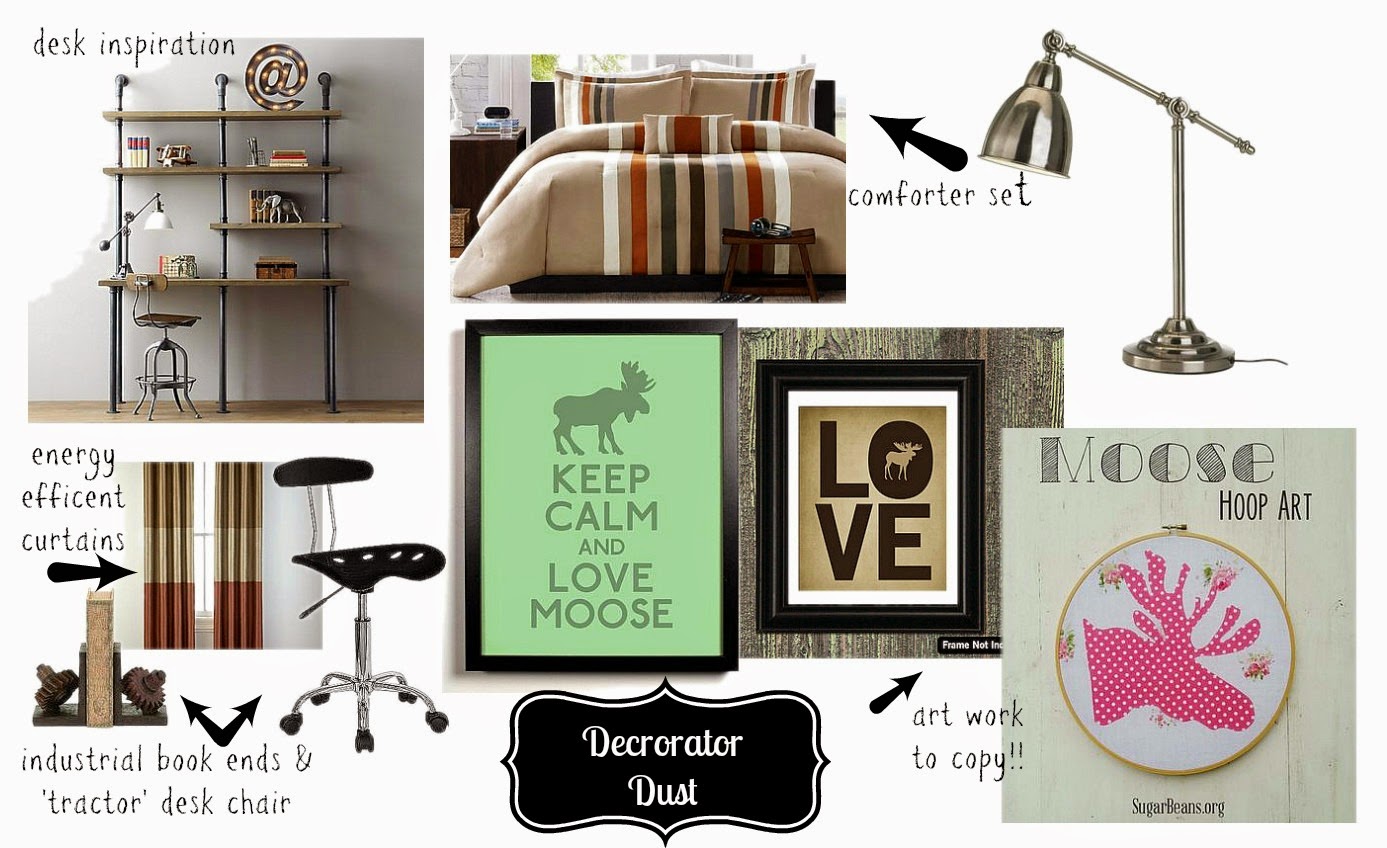
The Breakdown:

The desk will have to be built. The one on the design board is $1500 and I want two.  Clearly, that's not an option, but this is something The Builder can copy with ease. I figure two desks will cost a total of $250 (some of the flanges and fittings are pricier than you would think). 

The Keep Calm and Love Moose we already have. The Moose Love should be simple to re-create with my Silhouette, as will the hoop art in far less girl colors. I like the marquee light in the desk photo, so I think I'll do one for each desk. Again, plenty of tutorials on Pinterest for that! 

I went with energy efficient curtains. The boys room is on the sunny side of the house in the afternoon and that room cooks! We have cheap, faux wood blinds and they look like nice, but they do nothing to help cool the room. I bought the curtains online and they have excellent reviews, but I'll have to see how they work in the room. 

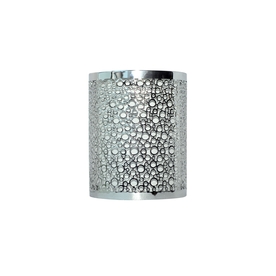
The lamp is from Ikea. They're $30 a piece. Again, very reasonable. The same with the tractor style desk chair. I found this one at Walmart.com and it mimics the one in the inspiration desk photo. 

I really debated putting some nice decorative pillows on their beds. And when they're older, maybe I will. But for now, I'm going to hold off since they rarely make their beds. I'm not sure about a rug yet. 

MJR has a big blank wall on his side of the room that I'm still not sure what I'm going to do with. Also I'm going to need artwork above his bed since his brother will have his moose artwork above his. But those things will be worked out once the paint has been chosen and we get things going.

The Kitchen - Stage 1

The Builder has been working like crazy so we haven't had a lot going on in the renovation department.  I think we have the master bath plan almost completed. But The Builder had a three day weekend last weekend and decided he needed a project to do. So after forcing him to relax on the 4th of July, he was ready to tear something apart on Saturday. He asked me if I was ready to take down the pass through in the kitchen.  I think he purposefully picked something he know I couldn't say no to!

Let me refresh your memory on the pass through from my kitchen to the dining room:


Like all pass through's that I've seen, this one is a waist of space. The 'bar' isn't wide enough to really eat at. The small opening isn't conductive to ventilation - in fact we swelter in here in the summer if we turn on the oven, even when the rest of the house is cool and comfy with the a/c running. When we had the TV over the fireplace, it did at least allow you to stand there and duck down a bit to catch a favorite TV show while doing dishes. Aside from that, utterly useless. 

When the builder first asked me about a kitchen renovation, I wanted to take down the wall that has the arched opening. Unfortunately, that corner there is a load baring wall. It would cost thousands of dollars to put in a new beam to support the weight of the upstairs. That might happen on design shows, but I have to live in reality, so it was a no go for me. The same with widening that opening to the kitchen. There's no place to widen since we're stealing the hall closet to expand the pantry (more on that in another post!). So that wall and that narrow opening have to stay.  The pass through does not.  So demo went something like this:
We removed the trim someone installed as an afterthought. I already knew we had the cheapest of builder grade cabinets, but the white paint gave me a false sense of thinking they weren't as bad as I thought. Ha. What we discovered is that only the front of the cabinets are wood. We have 'plastic' wood veneer adhered to the side of the cabinets and cheap trim along the top to add...something. The cabinets have always been to small to hold anything other than rarely used items. I'm sure I can find another spot for my Christmas Nutcracker plates and my Christmas tea set (the only thing of value that was in them!).

Next The Builder we took down the cabinet and started cutting into the wall:


Disclaimer:  The Builder was quite horrified annoyed that I was including the photo's of him in all his sweaty glory. We live in Houston and it's humid here. There's not much I can do about it. This is part of home renovations!

I was surprised at the beam running through the middle of the wall. The Builder was not. Apparently this is standard when you need to make sure you have something to screw the cabinets into so they won't fall off the wall. Go figure. He said the pass through was clearly an after thought as it didn't tie into the wall as it should have and was done later. Really, an afterthought?! WHY!!?
He even has helpers...

We needed to add a wall switch for the pendent lights we knew we were going to put up. The only way to really see where the electricity was running and easily install a new box was to take the drywall down. So we did. And if I was hoping beyond home that this corner wasn't really a load baring wall, my hopes were quickly dashed. This was one of the walls that had really bad texturing on it, so taking down the drywall allows us to re-install it and correctly texture. We also will be able to switch out the old beige electrical outlets and wall switches for nice clean white ones. Win win!


Everything all opened up. There are weird 'steps' in the wall where the beam came out. That meant more patch work than what I was thinking but The Builder took it in stride. Already you can see how much more open it looks.  This was Saturday afternoon.  The demolition part didn't take much time at all, aside from two separate trips to Home Depot to pick up supplies (we never remember everything in one trip, even when we have a list!) and a third trip to Lowe's because I didn't like the pendent options available at Home Depot. More on that in a bit. You can see the new junction box he installed for the double light switch. The power was off in this photo so he could get everything wired in, but I think you get the idea.


Let's cut to the chase, shall we:
This almost looks done.  This was last Sunday evening. The drywall was done and the spray texture was up. I was really itching to see how the pendants I chose were going to look once installed. But the reality is I didn't want ceiling paint on them or one of the two shades of wall paint either.

And now you can see my 80's laminate counter tops in all their horrific glory. Yeah, we're not doing the counters this year. Nor are we ripping out the rest of the disgusting particle board cabinets that desperately need to be replaced. Those will most likely be done next year (we still have an a/c that really needs to be replaced next year). I'm contemplating some type of counter top cover up but we shall see.

Yes, that's my dining room table covered in junk.  The few things from the cabinet, my cook books that were on a shelf above the pass through, and an assortment of nicknacks that need to find new homes. 


And here we have it this afternoon after the last coat of ceiling paint and touch up paint was completed:

 Yes, the ceiling is striped in the photo. In person, you can see a slight difference, but the camera really picked it up. "Eventually" we're going to have to repaint the entire ceiling from kitchen to dining room.  Eventually is a really distant thought right now.  This counter height bar isn't remotely practical enough to allow for every day use (I can see dishes falling off that narrow bar...) and it quickly becomes a clutter magnet. I'm going to have to put this picture on my phone to remind myself what it's supposed to look like.

This is from Lowe's web site to give you an idea of what it looks like when the lights aren't on (it's not photographing well either way:

There's a white paper shade inside so it's not spakly (which was not a look I was going for) and it blends well with the nickel finishes that are already in the home.

Lowe's really has the best selection for pendant shades.  I was terribly disappointed at the choices at Home Depot.  And the prices! Two lights at Home Depot would have cost about $150. These two with the pendant kits were less than $100. I'm happy to take the savings, thank you.


Take a look at before and after!

Already, the finial photo is out of date, our new refrigerator arrived today! And with that, this particular project is done!! We're hoping to do the pantry expansion over Labor Day weekend, which will be Stage 2. After that though, we'll be in waiting mode until we purchase all new cabinets and determine what the counter tops are going to be. Baby steps...