
OK, so here is my my breakfast nook you may remember from this post. It's nice. It's functional. It is totally lacking in character! I've finally located the other curtain valance for the window over the sink - yep, the one no one has seen because I'm embaressed to admit I've had one sill panel on the rod for almost as long as we've lived here - and I'm ready to get The Builder started on an easy project that won't tax his back, which is feeling much better, and I'd like it to stay that way so he can tackle that laundry room this month
So I found this tutorial over at Under The Table and Dreaming and I knew it was exactly what I needed for my bay window. If you've ever priced curtain rods for a bay window, they're insanely expensive. But thankfully there are clever people out there who figure these things out, and I'm an avid blog reader who is always looking for new ideas, so it was a perfect fit!
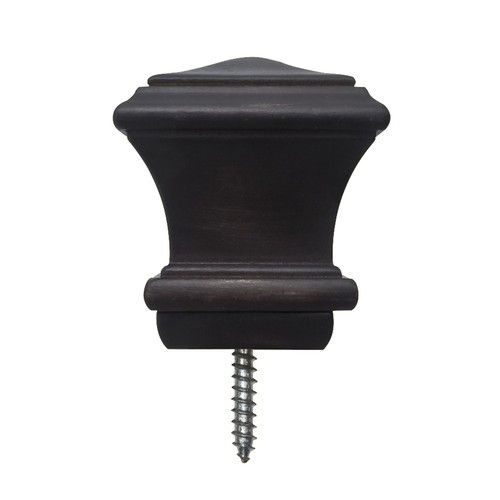 |
| Finial from Lowes |
I'm not sure if I'm going to buy pre-made finials for the ends of the rods like I found here at Lowe's, or if I want to make a set life she did in her blog. But I still have time to think about that. So my project list includes electrical conduit, matte finish spray paint, and curtain rod holders. My total budget estimate is:
- $1.69 - 1/2" x 10 Ft. Electrical Metallic Tube EMT Conduit (what it would cost if I had to buy it - but The Builder can get a few pieces from the electricians on his job for free AND have them crimp it based on the template - how much do I love The Builder?!)
- $4.97 - Metal Curtain Rod Bracket (x 3)
- $5 - Krylon paint (which I already own, so no cost to me)
- $10 pair finial's from Lowes
So for $15 I could have my window ready for curtains!! Are you wondering how much bay window curtains actually run? Amazon has a nice set for $54...I think I'll pas, even with my Prime membership... :)


No comments